ZABBIXのメジャーバージョンアップが行われ4.0.1のrpmパッケージダウンロード可能となったので、CentOS7が入ったオールドなノートPCにZABBIXをインストールをしました。当初はphp5.4から7.2へのバージョンアップも考慮していましたが7.2への入替完了後、zabbix各種インストール時依存性の問題が発生して自分は対処できませんでした。残念ながらCentOS7標準のphp5.4で設定しました。(何度もyum removeとかrpm -e をしてます、、、、orz)DBについては最新版のmysql8としています。
Server(PC)
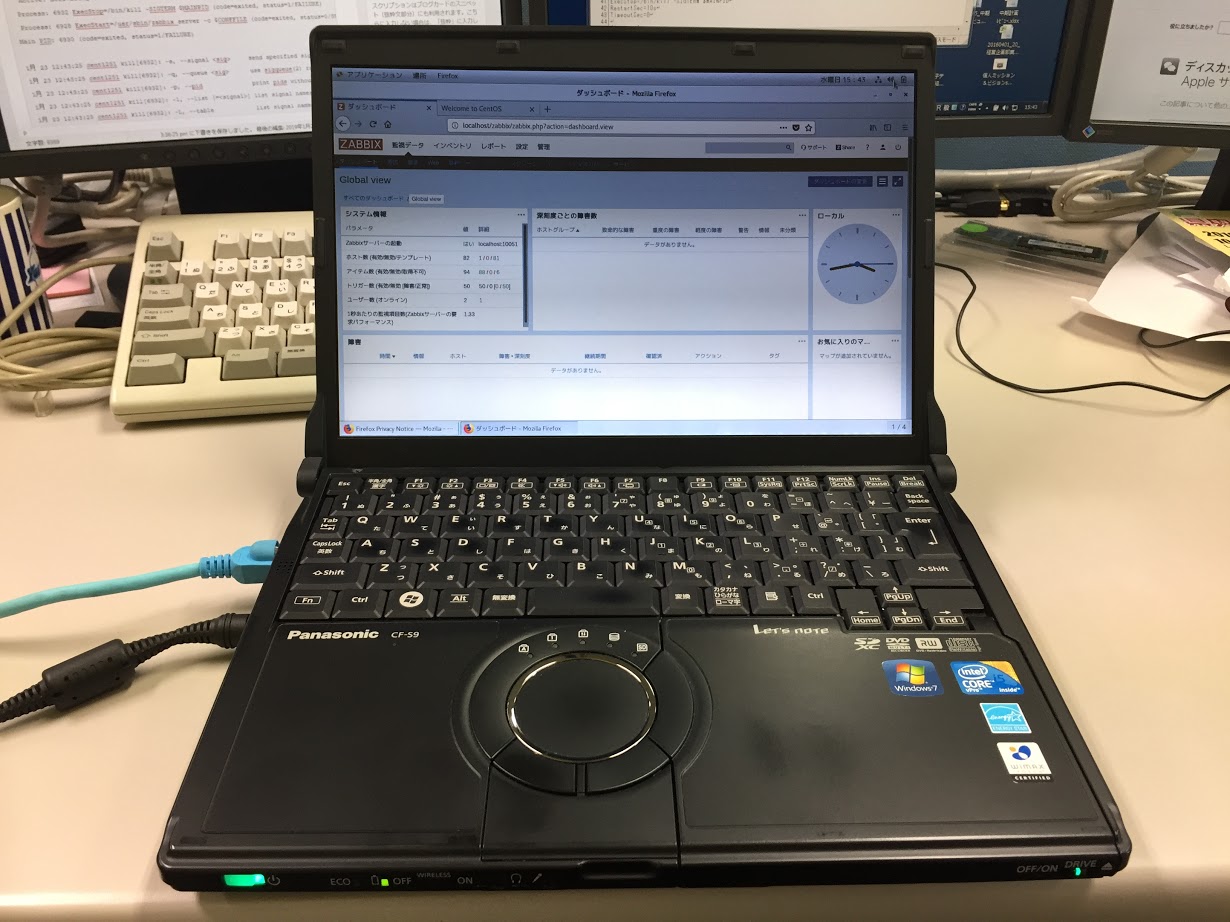
2008年モデル 古くても監視対象が多くなければ大丈夫!?このPC過去色々使い回していますが壊れません。頑丈です。但し当然ながらサーバ用途には向きません。インストール実験機程度とお考えください。

| 型番 | FMV-B8260 |
| CPU | Core2DuoU7600(1.20GHz) |
| メモリ | 4GB |
| HDD(SSD) | 120GB |
OS
# cat /etc/centos-release
CentOS Linux release 7.5.1804 (Core)
デスクトップに開発環境を入れて
Firewalldの停止と無効化
# systemctl stop firewalld
# systemctl disable firewalld
SElinux無効化
# vi /etc/selinux/config
SELINUX=disabled
ホストの再起動をここで行っておく。
MySQL8
- MySQL Yumリポジトリのダウンロード
- リポジトリ mysql80-community-release-el7-1.noarch.rpm
- MySQLのリポジトリ追加インストール
- MySQLデータベース関連インストールとインストール確認
- MySQL デーモン起動
- MySQL ログファイルにroot 初期パスワードの記載がある
- MySQL パスワードポリシーを低くする+パスワード文字列を4文字以上に変更
- MySQL rootパスワードの変更
- MySQL パスワードの有効期間を無制限化 /etc/my.cnf
- MySQL rootでのログイン
- MySQL用のZABBIXリポジトリ追加用ファイル
- ZABBIX MySQLZABBIXデータベース作成・ユーザ作成・権限
- ZABBIX MySQLデータベーススキーマインポート
- zabbix_server.conf編集
- Apache zabbix.confのtimezoneを編集
- Zabbixサーバの起動と自動起動設定
- ZABBIX Webからのセットアップ
MySQL Yumリポジトリのダウンロード
http://dev.mysql.com/downloads/repo/yum/
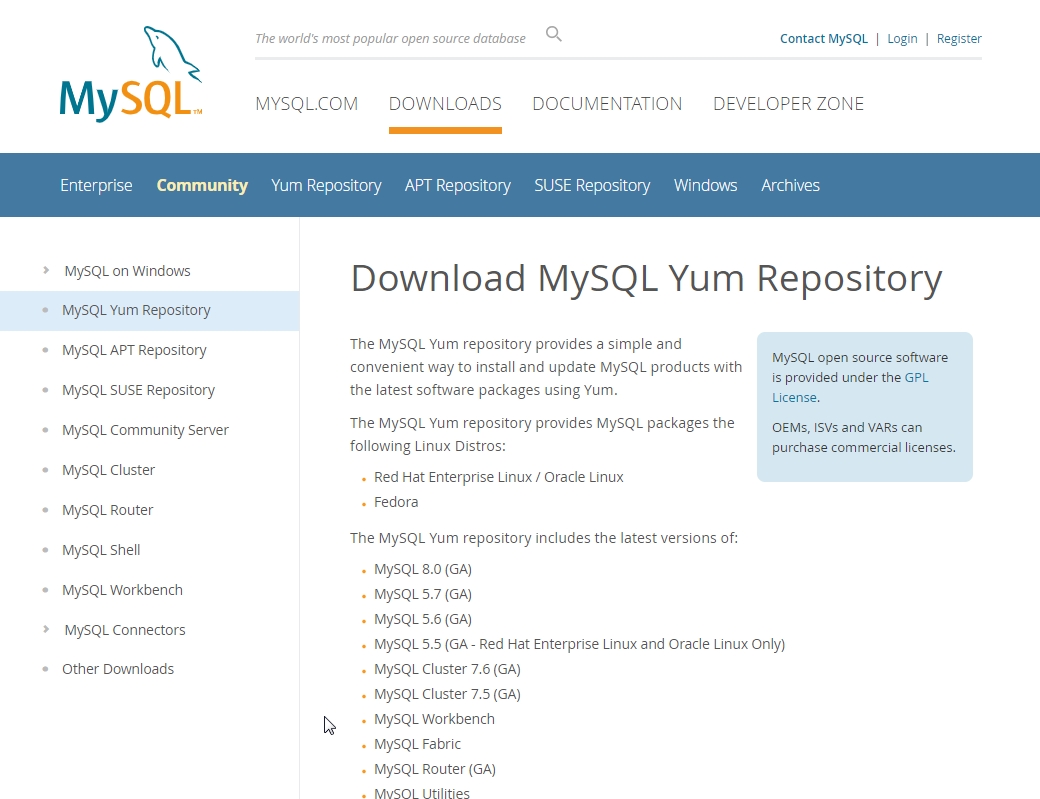
リポジトリ mysql80-community-release-el7-1.noarch.rpm
# yum install wget
# wget http://dev.mysql.com/get/mysql80-community-release-el7-1.noarch.rpm
MySQLのリポジトリ追加インストール
# rpm -ivh mysql80-community-release-el7-1.noarch.rpm
MySQLデータベース関連インストールとインストール確認
# yum install mysql-community-server
# rpm -qa | grep mysql
mysql80-community-release-el7-1.noarch
mysql-community-common-8.0.13-1.el7.x86_64
mysql-community-libs-compat-8.0.13-1.el7.x86_64
mysql-community-server-8.0.13-1.el7.x86_64
mysql-community-client-8.0.13-1.el7.x86_64
mysql-community-libs-8.0.13-1.el7.x86_64
MySQL デーモン起動
# systemctl start mysqld
MySQL セキュリティー/ログイン関連
MySQL ログファイルにroot 初期パスワードの記載がある
インストール時ランダムに生成されるパスワード
今回は kz;4>5oh+cgH でした。
# grep 'temporary password' /var/log/mysqld.log
2018-11-08T06:35:27.898729Z 5 [Note] [MY-010454] [Server] A temporary password is generated for root@localhost: kz;4>5oh+cgH
# mysql -u root -p
kz;4>5oh+cgH ←このパスワードで
MySQL パスワードポリシーを低くする+パスワード文字列を4文字以上に変更
使い勝手に合わせて調整
mysql> SET GLOBAL validate_password.policy=LOW;
Query OK, 0 rows affected (0.00 sec)

mysql> SET GLOBAL validate_password.length=4;
Query OK, 0 rows affected (0.00 sec)

mysql> SHOW VARIABLES LIKE 'validate_password%';
+--------------------------------------+-------+
| Variable_name                        | Value |
+--------------------------------------+-------+
| validate_password.check_user_name    | ON    |
| validate_password.dictionary_file    |       |
| validate_password.length             | 4     |
| validate_password.mixed_case_count   | 1     |
| validate_password.number_count       | 1     |
| validate_password.policy             | LOW   |
| validate_password.special_char_count | 1     |
+--------------------------------------+-------+
7 rows in set (0.01 sec)
MySQL rootパスワードの変更
mysql> ALTER USER 'root'@'localhost' IDENTIFIED BY '<rootのパスワード>';
Query OK, 0 rows affected (0.03 sec)
MySQL パスワードの有効期間を無制限化 /etc/my.cnf
使い勝手に合わせて調整(2019年01月23日追記)
# vi /etc/my.cnf
[mysqld]
character-set-server = utf8
default_password_lifetime = 0
# パスワードポリシー
validate_password.length=4
# validate_password.mixed_case_count=0
# validate_password.number_count=0
# validate_password.special_char_count=0
validate_password.policy=LOW
MySQL rootでのログイン
先ほど変更したrootのパスワードでログイン可能か確認する → OK
# mysql -u root -p
Enter password:
Welcome to the MySQL monitor.  Commands end with ; or \g.
Your MySQL connection id is 772
Server version: 8.0.13 MySQL Community Server - GPL

Copyright (c) 2000, 2018, Oracle and/or its affiliates. All rights reserved.

Oracle is a registered trademark of Oracle Corporation and/or its
affiliates. Other names may be trademarks of their respective
owners.

Type 'help;' or '\h' for help. Type '\c' to clear the current input statement.

mysql>
ZABBIX
Zabbix Documentation 4.0より

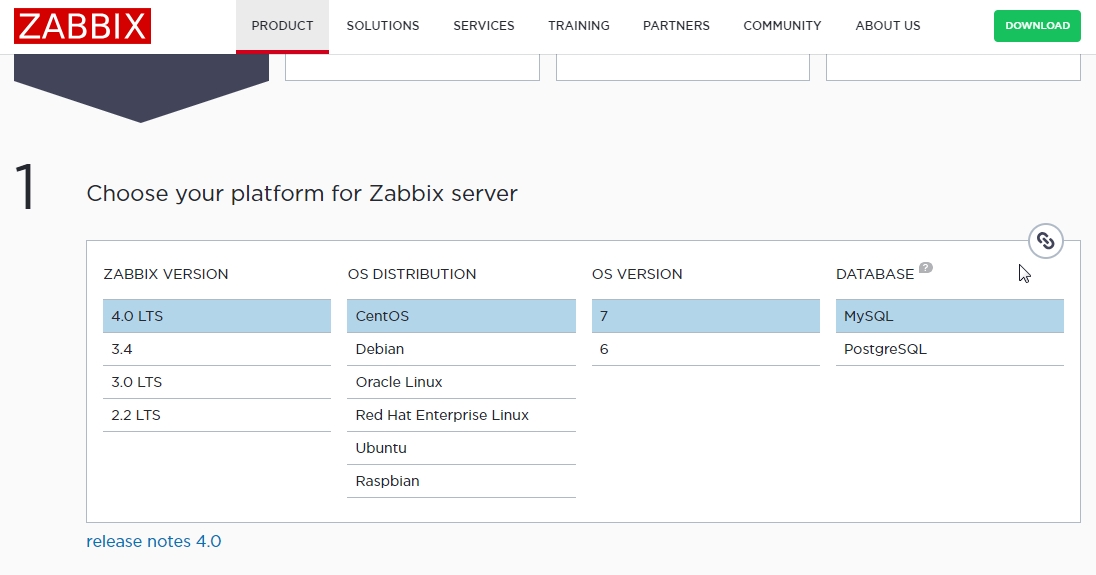
MySQL用のZABBIXリポジトリ追加用ファイル
http://www.zabbix.com/download.php
wgetだと
# wget http://repo.zabbix.com/zabbix/4.0/rhel/7/x86_64/zabbix-release-4.0-1.el7.noarch.rpm
# rpm -i https://repo.zabbix.com/zabbix/4.0/rhel/7/x86_64/zabbix-release-4.0-1.el7.noarch.rpm
# yum install zabbix-server-mysql zabbix-web-mysql zabbix-agent zabbix-web-japanese zabbix-get zabbix-agent zabbix-web-japanese zabbix-get
2019年01月23日追記(4.0.3はUpdateしているので)
zabbix-agent-4.0.3-1.el7.x86_64
zabbix-server-mysql-4.0.3-1.el7.x86_64
zabbix-web-mysql-4.0.3-1.el7.noarch
zabbix-web-4.0.3-1.el7.noarch
zabbix-web-japanese-4.0.3-1.el7.noarch
zabbix-get-4.0.3-1.el7.x86_64
ZABBIX MySQLZABBIXデータベース作成・ユーザ作成・権限
# mysql -u root -p
mysql> create database zabbix character set utf8 collate utf8_bin;
Query OK, 1 row affected, 2 warnings (0.10 sec)
mysql> CREATE USER zabbix@localhost IDENTIFIED BY '<パスワード>';
mysql> grant all privileges on zabbix.* to zabbix@localhost;
Query OK, 1 row affected, 2 warnings (0.10 sec) warningsが2件logをみてもcharacter setが予定されている?様な記述。とりあえず続行。
ZABBIX MySQLデータベーススキーマインポート
# cd /usr/share/doc/zabbix-server-mysql-4.0.1/
# zcat create.sql.gz | mysql -u zabbix -p zabbix
Enter password:
zabbix_server.conf編集
編集箇所の抜粋
# vi /etc/zabbix/zabbix_server.conf
DBHost=localhost
DBName=zabbix
DBUser=zabbix
DBPassword=zabbix
Apache zabbix.confのtimezoneを編集
# vi /etc/httpd/conf.d/zabbix.conf
# php_value date.timezone Europe/Riga
↓
php_value date.timezone Asia/Tokyo
Zabbixサーバの起動と自動起動設定
# systemctl start zabbix-server
# systemctl enable zabbix-server
自分自身の動作確認用にAgentを起動しておく
# systemctl start zabbix-agent
# systemctl enable zabbix-agent
 systemctl status zabbix-server
● zabbix-server.service - Zabbix Server
   Loaded: loaded (/usr/lib/systemd/system/zabbix-server.service; enabled; vendor preset: disabled)
   Active: active (running) since 木 2018-11-15 12:00:27 JST; 1h 45min ago
    Tasks: 34
   CGroup: /system.slice/zabbix-server.service
           tq7125 /usr/sbin/zabbix_server -c /etc/zabbix/zabbix_server.conf
           tq7130 /usr/sbin/zabbix_server: configuration syncer [synced configuration in 0.037744 se...
           tq7131 /usr/sbin/zabbix_server: alerter #1 started
           tq7132 /usr/sbin/zabbix_server: alerter #2 started
           tq7133 /usr/sbin/zabbix_server: alerter #3 started
各daemonの起動設定と再起動(念のため)
# systemctl enable mysqld
# systemctl enable httpd
# systemctl enable zabbix-server
# systemctl enable zabbix-agent
# systemctl restart mysqld
# systemctl restart httpd
# systemctl restart zabbix-server
# systemctl restart zabbix-agent
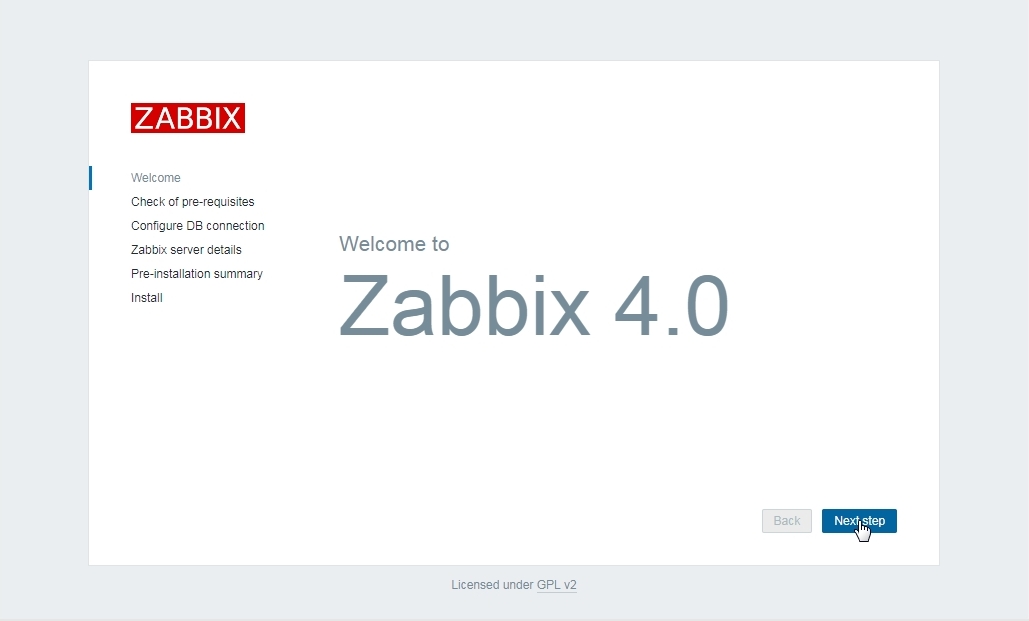
ZABBIX Webからのセットアップ
http://serverのipアドレス/zabbix/
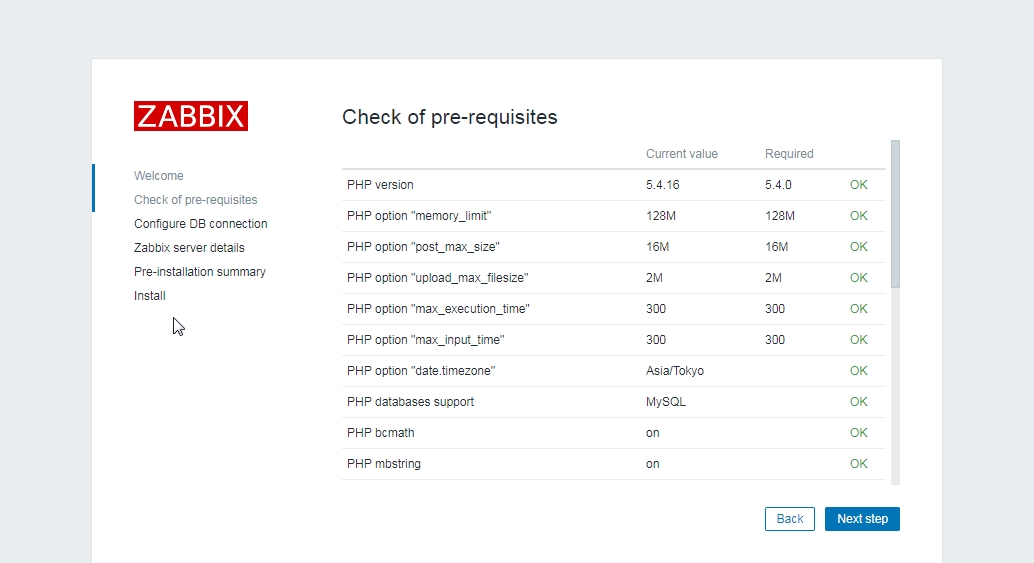
ZABBIX PHPの設定確認 OK
ZABBIX データベースの接続情報

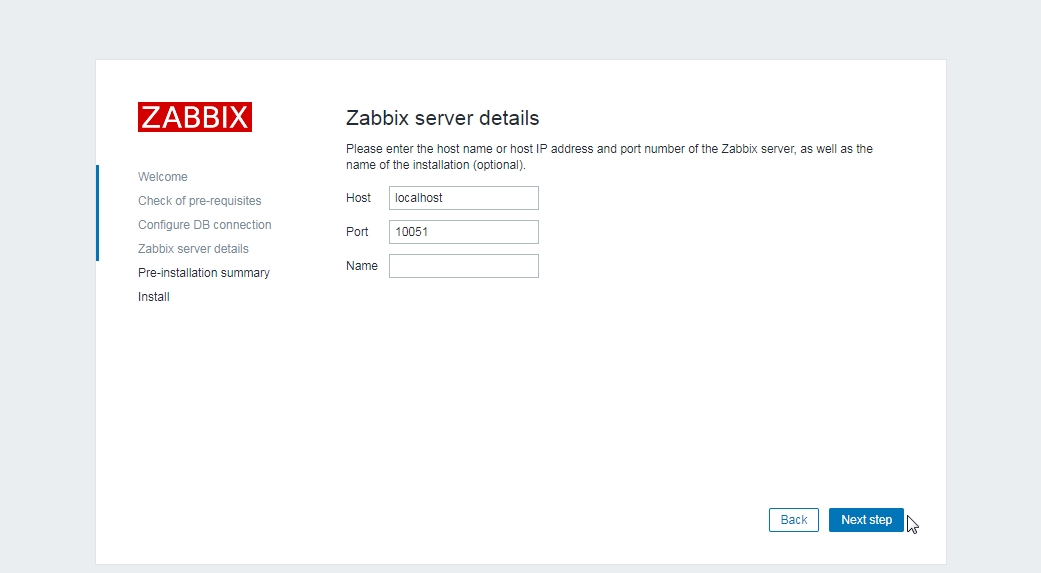
ZABBIX Server接続ポート(そのまま)
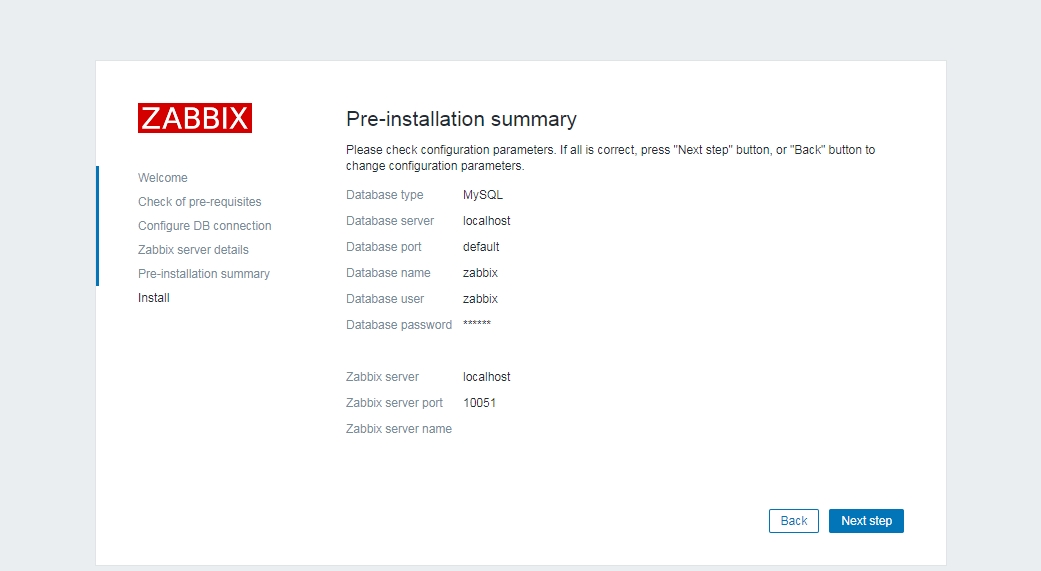
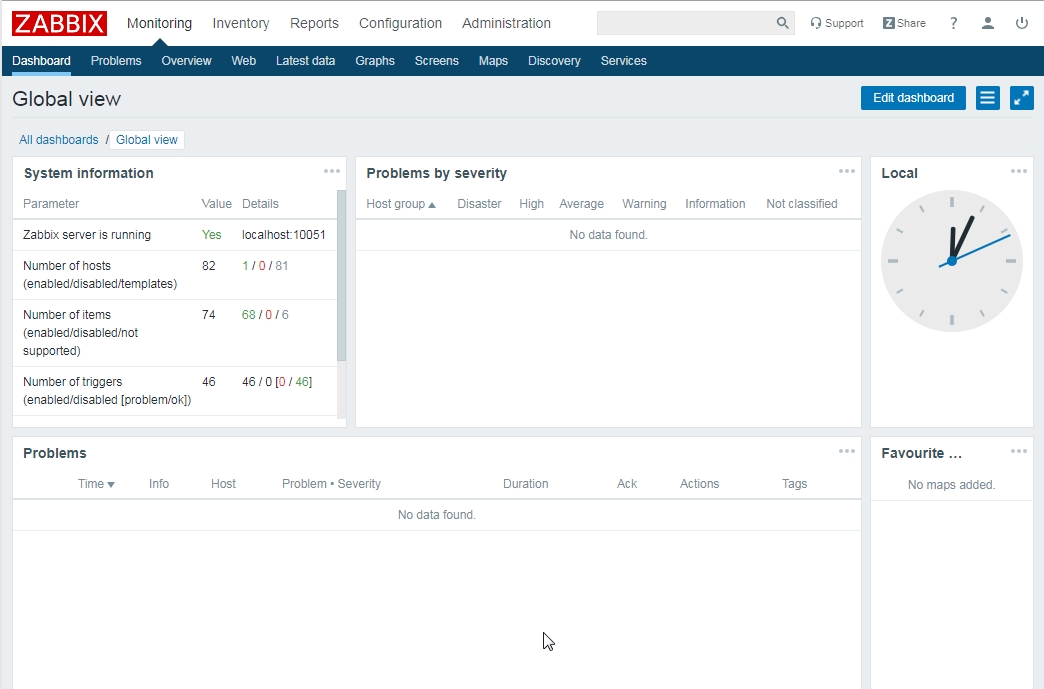
ZABBIX サマリー表示
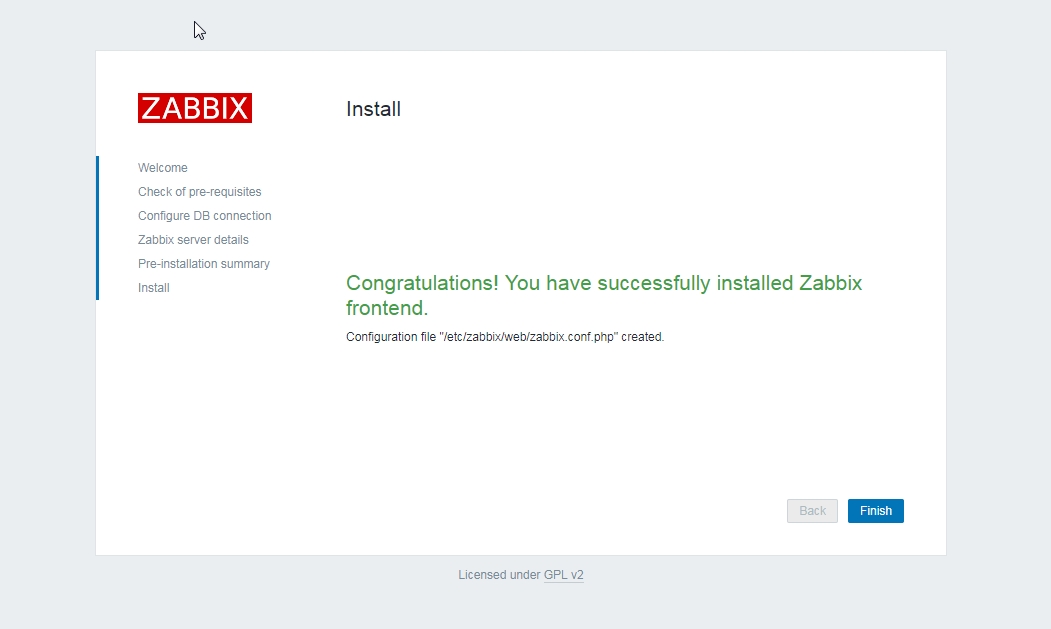
ZABBIX install成功 phpファイルの作成(自動)
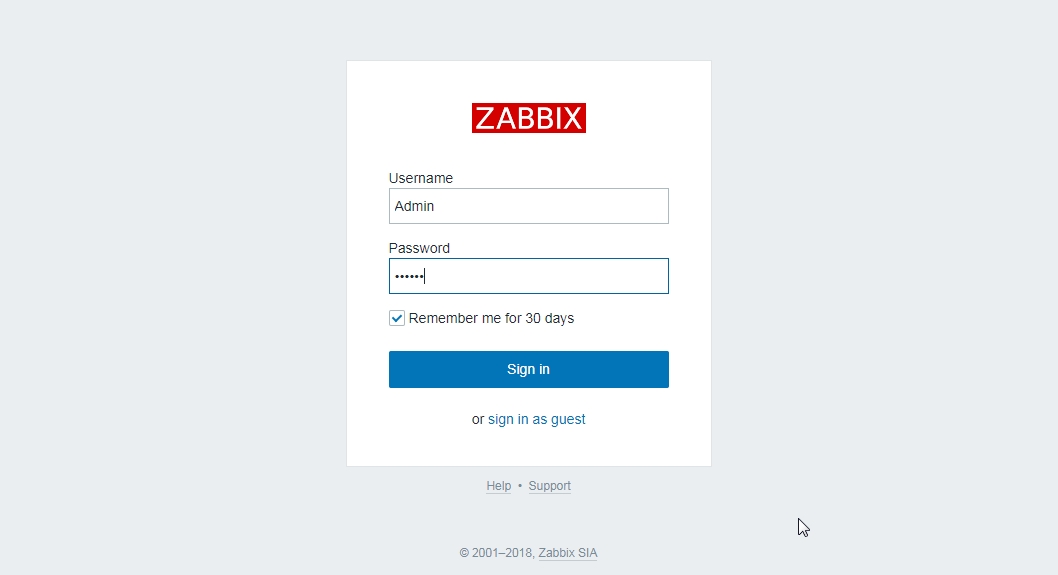
ZABBIX ログイン
Username:Admin
Password:zabbix
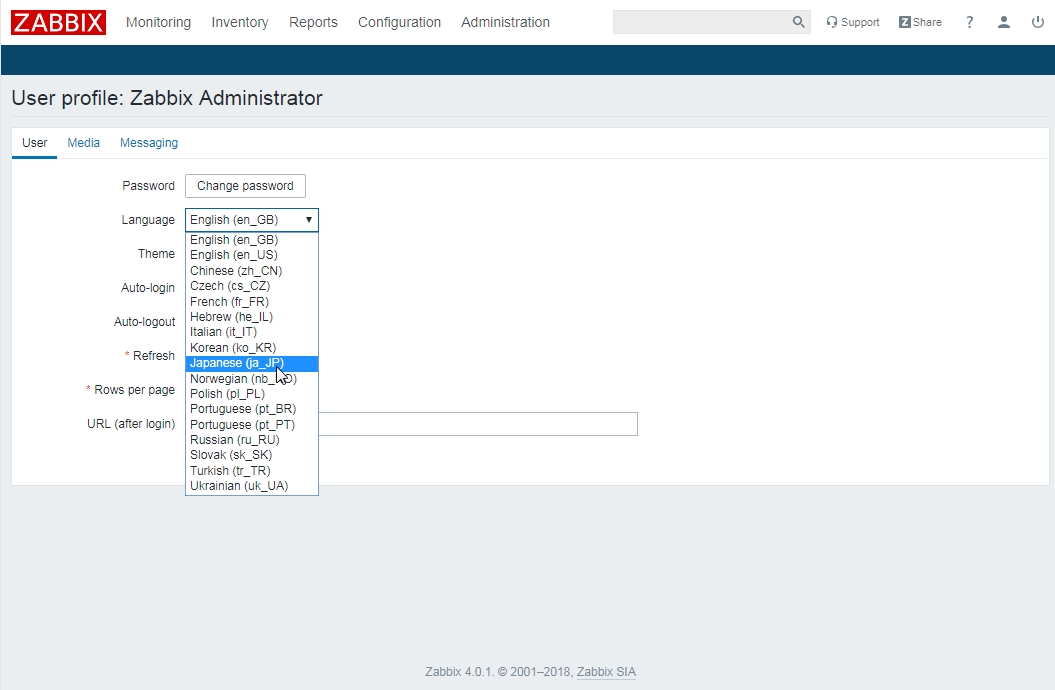
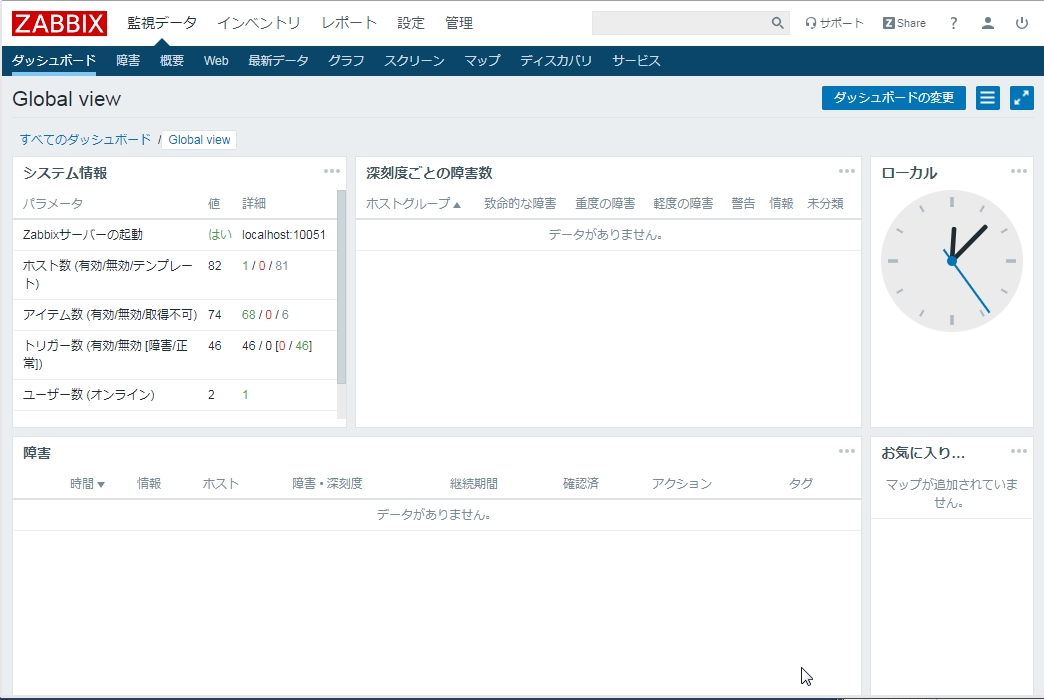
ZABBIX 日本語化
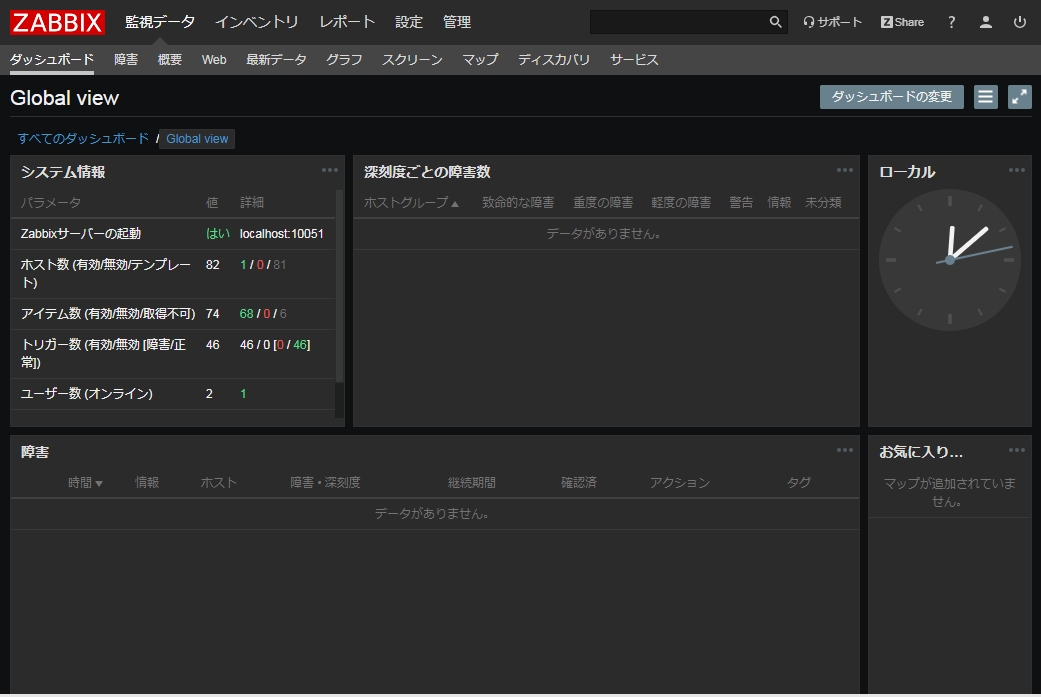
ZABBIX テーマをダークにしてみる(だけ)
導入(した)(していた)(された)関連ファイル
2019年01月23日時点
# rpm -qa | grep php
php-cli-5.4.16-46.el7.x86_64
php-ldap-5.4.16-46.el7.x86_64
php-pdo-5.4.16-46.el7.x86_64
php-xml-5.4.16-46.el7.x86_64
php-common-5.4.16-46.el7.x86_64
php-mysql-5.4.16-46.el7.x86_64
php-gd-5.4.16-46.el7.x86_64
php-mbstring-5.4.16-46.el7.x86_64
php-bcmath-5.4.16-46.el7.x86_64
php-5.4.16-46.el7.x86_64
# rpm -qa | grep mysql
mysql-community-common-8.0.14-1.el7.x86_64
mysql-community-server-8.0.14-1.el7.x86_64
php-mysql-5.4.16-46.el7.x86_64
mysql80-community-release-el7-2.noarch
mysql-community-client-8.0.14-1.el7.x86_64
mysql-community-libs-compat-8.0.14-1.el7.x86_64
zabbix-web-mysql-4.0.3-1.el7.noarch
mysql-community-devel-8.0.14-1.el7.x86_64
zabbix-server-mysql-4.0.3-1.el7.x86_64
mysql-community-libs-8.0.14-1.el7.x86_64
# rpm -qa | grep zabbix
zabbix-get-4.0.3-1.el7.x86_64
zabbix-web-4.0.3-1.el7.noarch
zabbix-agent-4.0.3-1.el7.x86_64
zabbix-release-4.0-1.el7.noarch
zabbix-web-japanese-4.0.3-1.el7.noarch
zabbix-web-mysql-4.0.3-1.el7.noarch
zabbix-server-mysql-4.0.3-1.el7.x86_64
リンク
ZABBIX4インストール Red Hat CentOS公式
おまけ
2018年01月23日に別ホストでほぼ同じ設定で作り直しました。zabbix-serverが稼働せずLOGを見てみると子供のプロセスは知らないよ!的ですっかりはまってしまった。中途半端にファイル群が残っている状態でyum reinstall等をしてしまったから、、、????
正しいか分かりませんが、mysql zabbix php関連をremove設定ファイルの消去後installをして解決しました。
動かなかったときのstatus
# systemctl status zabbix-server
● zabbix-server.service - Zabbix Server
   Loaded: loaded (/usr/lib/systemd/system/zabbix-server.service; enabled; vendor preset: disabled)
   Active: activating (auto-restart) (Result: exit-code) since 水 2019-01-23 12:43:25 JST; 7s ago
  Process: 6932 ExecStop=/bin/kill -SIGTERM $MAINPID (code=exited, status=1/FAILURE)
  Process: 6928 ExecStart=/usr/sbin/zabbix_server -c $CONFFILE (code=exited, status=0/SUCCESS)
 Main PID: 6930 (code=exited, status=1/FAILURE)

 1月 23 12:43:25 cent1251 kill[6932]: -s, --signal <sig>     send specified signal
 1月 23 12:43:25 cent1251 kill[6932]: -q, --queue <sig>      use sigqueue(2) rather than kill(2)
 1月 23 12:43:25 cent1251 kill[6932]: -p, --pid              print pids without signaling them
 1月 23 12:43:25 cent1251 kill[6932]: -l, --list [=<signal>] list signal names, or convert one to a name
 1月 23 12:43:25 cent1251 kill[6932]: -L, --table            list signal names and numbers
 1月 23 12:43:25 cent1251 kill[6932]: -h, --help     display this help and exit
 1月 23 12:43:25 cent1251 kill[6932]: -V, --version  output version information and exit
 1月 23 12:43:25 cent1251 kill[6932]: For more details see kill(1).
 1月 23 12:43:25 cent1251 systemd[1]: Unit zabbix-server.service entered failed state.
 1月 23 12:43:25 cent1251 systemd[1]: zabbix-server.service failed
これだけでは分からなかったので
# journalctl -x > j.txt ーーー→ jounalctlをj.txtにリダイレクトして
# tail -100 j.txt ーーー→ 後ろから100行
コマンドを知らないのでこんなかっこ悪い手間を掛けました。
そのテキストをにらんで
-- Unit zabbix-server.service has begun starting up.
 1月 23 12:17:28 cent1251 systemd[1]: zabbix-server.service: Supervising process 5467 which is not our child. We'll most likely not notice when it exits.
 1月 23 12:17:28 cent1251 systemd[1]: Started Zabbix Server.
-- Subject: Unit zabbix-server.service has finished start-up
-- Defined-By: systemd
zabbix-server.service: Supervising process 5467 which is not our child. We'll most likely not notice when it exits.
この辺でギブアップ。諦めて上述のようにremove→installしました。
こちらのノートPCに導入しました。デモ用なのでServer機体ではありません。

コメント